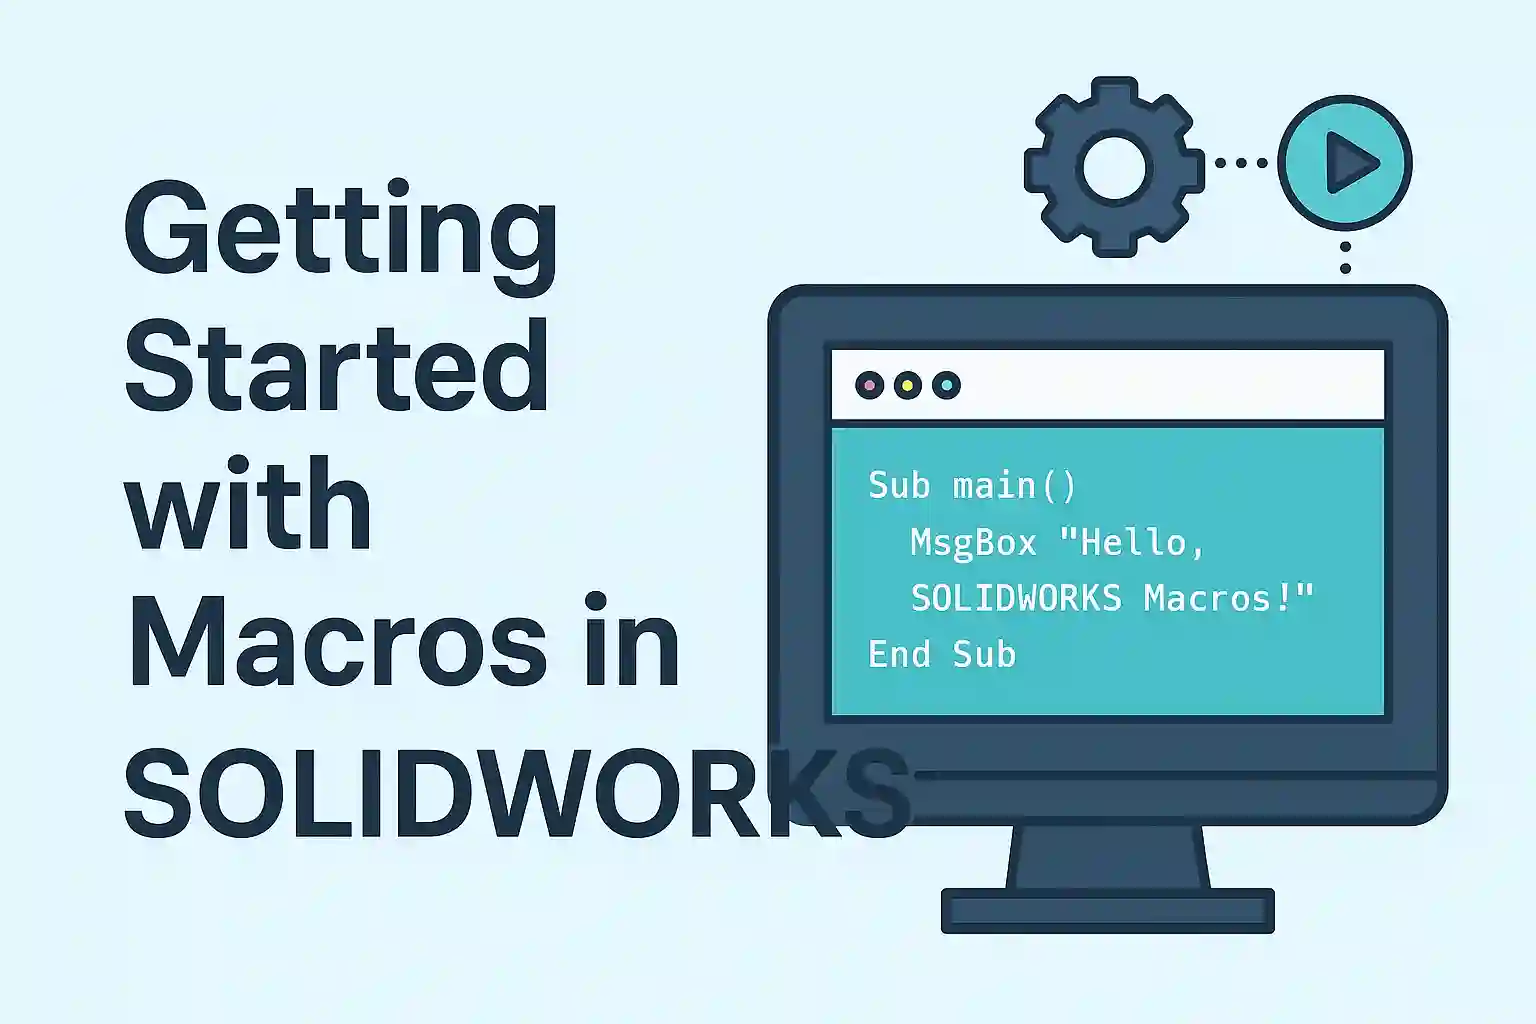
How to Cut-Extrude from Sketch in SolidWorks using VBA Macro?
Automating your SolidWorks design process can save time, reduce repetitive steps, and boost productivity. In this tutorial, you’ll learn how to create a Cut-Extrude feature from an existing sketch using VBA macro inside SolidWorks.
This step-by-step guide walks you through:
✅ Accessing SolidWorks via VBA
✅ Selecting a sketch
✅ Creating a cut-extrude
✅ Handling errors and validations
Let’s dive in.
🧾 Step-by-Step SolidWorks Macro with Comments
Full VBA Code – With Line-by-Line Explanation
Option Explicit

' Create a variable to store the SolidWorks application object
Dim swApp As SldWorks.SldWorks

' Create a variable for the active document (part/assembly)
Dim swDoc As SldWorks.ModelDoc2

' Create a variable to hold the created feature
Dim swFeature As SldWorks.Feature

' Boolean variable to check status of operations
Dim BoolStatus As Boolean

' Main subroutine starts here
Sub main()

  ' Get the current running SolidWorks instance
  Set swApp = Application.SldWorks

  ' Check if SolidWorks is running
  If swApp Is Nothing Then
      MsgBox ("SolidWorks is not opened")
      Exit Sub
  End If

  ' Get the currently active document (must be a Part)
  Set swDoc = swApp.ActiveDoc

  ' If no document is open, exit the macro
  If swDoc Is Nothing Then
      MsgBox ("SolidWorks document is not opened. Please open a document.")
      Exit Sub
  End If

  ' Attempt to select Sketch2 for extrusion
  BoolStatus = swDoc.Extension.SelectByID2("Sketch2", "SKETCH", 0, 0, 0, False, 0, Nothing, swSelectOption_e.swSelectOptionDefault)

  ' If selection fails, notify user
  If BoolStatus = False Then
      MsgBox ("Failed to select Sketch2.")
      Exit Sub
  End If

  ' Create a cut-extrude through all using selected sketch
  Set swFeature = swDoc.FeatureManager.FeatureCut4( _
      True, False, False, _
      swEndCondThroughAll, 0, _
      0.01, 0.01, _
      False, False, False, False, _
      1, 1, False, False, _
      False, False, False, _
      True, True, True, True, _
      False, swStartSketchPlane, 0, _
      False, False)

  ' If feature creation fails, alert the user
  If swFeature Is Nothing Then
      MsgBox ("Failed to create Extrude Cut Feature.")
      Exit Sub
  End If

End Sub
What Does This Macro Do?
✅ 1. Gets the active SolidWorks session
It starts by checking if SolidWorks is open and a document is active.
✅ 2. Selects “Sketch2”
It tries to select a sketch with the name "Sketch2" on the active part.
💡 Make sure “Sketch2” exists in the part before running the macro.
✅ 3. Creates a Cut-Extrude
Using FeatureCut4, the macro creates a cut through all from the selected sketch.
✅ 4. Adds Error Handling
Basic error handling ensures you don’t get stuck if something’s missing.
📌 Important Notes
This macro only works in part documents (
.SLDPRT)It requires Sketch2 to be pre-created and fully closed
Modify
"Sketch2"if your sketch has a different name
🔁 Example Use Cases
Automate repeated cut operations
Apply standard cut-outs to imported geometry
Pre-process parts for downstream tasks
🧠 Final Thoughts
This VBA macro is a great example of how automation can simplify design workflows. Whether you’re processing hundreds of models or just saving clicks, a small macro like this can go a long way.
If you’re interested in:
Customizing macros
Creating sketches programmatically
Full part design automation
Let me know — we’re building a full VBA & SolidWorks automation series for The Tech Thinker!
📥 Need Help?
Drop a comment below or contact us for custom macro development. We love building intelligent, reusable design tools!
Cut-Extrude from Sketch in SolidWorks using VBA
Step by Step Detailed Explanation
Step 1: Declare Variables
Option Explicit

Dim swApp As SldWorks.SldWorks              ' SolidWorks application
Dim swDoc As SldWorks.ModelDoc2             ' Active document (Part/Assembly)
Dim swFeature As SldWorks.Feature           ' Stores the created feature
Dim BoolStatus As Boolean                   ' Holds True/False status of operations
Explanation:
We declare the objects we’ll use in the macro — one for the app, one for the document, one for the feature, and a boolean to track success/failure.
This makes the code more readable and easy to debug.
🔹 Step 2: Start the Main Procedure
Sub main()
Explanation:
This is the starting point of your macro.
Everything you want to automate goes inside this subroutine.
🔹 Step 3: Get SolidWorks Application Instance
Set swApp = Application.SldWorks

If swApp Is Nothing Then
    MsgBox ("SolidWorks is not opened")
    Exit Sub
End If
Explanation:
This line connects the macro to your running SolidWorks instance. If SolidWorks is not open, it alerts the user and exits safely.
🔹 Step 4: Get the Active Part Document
Set swDoc = swApp.ActiveDoc

If swDoc Is Nothing Then
    MsgBox ("SolidWorks document is not opened. Please open a document.")
    Exit Sub
End If
Explanation:
The macro checks if a file is currently open in SolidWorks.
It must be a part document (.SLDPRT) where the sketch is present. If not, it alerts and exits.
🔹 Step 5: Select the Target Sketch (e.g., “Sketch2”)
BoolStatus = swDoc.Extension.SelectByID2("Sketch2", "SKETCH", 0, 0, 0, False, 0, Nothing, swSelectOption_e.swSelectOptionDefault)

If BoolStatus = False Then
    MsgBox ("Failed to select Sketch2.")
    Exit Sub
End If
Explanation:
This selects a sketch named “Sketch2” in the model tree. You must make sure it exists. If the sketch is missing or misnamed, this block will fail gracefully.
🔹 Step 6: Create the Cut-Extrude Feature
Set swFeature = swDoc.FeatureManager.FeatureCut4( _
    True, False, False, _
    swEndCondThroughAll, 0, _
    0.01, 0.01, _
    False, False, False, False, _
    1, 1, False, False, _
    False, False, False, _
    True, True, True, True, _
    False, swStartSketchPlane, 0, _
    False, False)
Explanation:
This performs the actual Cut-Extrude. The sketch is cut through all the geometry in the direction specified. It doesn’t need to specify end depth because swEndCondThroughAll handles that.
📌 You can tweak parameters like:
0.01 = draft angles (not used if through all)
swStartSketchPlane = where to start the cut
True/False values = optional flags for merging, directions, etc.
🔹 Step 7: Check if Feature Was Created Successfully
If swFeature Is Nothing Then
    MsgBox ("Failed to create Extrude Cut Feature.")
    Exit Sub
End If
Explanation:
Just a final check to ensure everything ran successfully. If the feature wasn’t created, the macro informs you instead of silently failing.
Frequently Asked Questions (FAQs)
✅ What is a Cut-Extrude in SolidWorks?
A Cut-Extrude removes material from a 3D model using a 2D sketch. It’s used for holes, slots, cutouts, and other internal features.
✅ Can I automate Cut-Extrude using a macro?
Yes, you can automate it using VBA macros in SolidWorks. The macro selects a sketch and performs a cut automatically—saving you time on repetitive tasks.
✅ What sketch name should the macro use?
The macro looks for a sketch named Sketch2. You can update the macro to use any valid sketch name that exists in your model.
✅ What if the sketch isn’t found?
The macro will show a message: “Failed to select Sketch2.” It will safely exit without making changes to your model.
✅ Can I use this macro in assembly or drawing files?
No. This macro works only with part files (.SLDPRT). For assemblies or drawings, you need different macros.
✅ How do I run this macro?
Open SolidWorks
Open your part document
Press
Alt + F11to launch the VBA editorPaste the macro
Run
main()
✅ What does swEndCondThroughAll mean?
It’s an end condition that tells SolidWorks to cut through all geometry in one direction—ignoring cut depth values.
✅ How can I change the cut depth instead?
Replace swEndCondThroughAll with swEndCondBlind and set your desired depth value (e.g., 0.01).
✅ How can I check if the cut worked?
The macro checks if the feature was created. If it fails, you’ll get a message: “Failed to create Extrude Cut Feature.”
✅ Can I extend the macro to create sketches too?
Yes! You can add API calls to draw circles, rectangles, or any sketch entity before the cut operation.
✅ Is this macro safe to test?
Yes, but always test on a duplicate file or test part, and save your document before running any macro.
✅ How can I perform the cut in both directions?
You can modify the macro using swEndCondMidPlane or enable two-direction cut flags in the parameters.
✅ Where can I learn more about the SolidWorks API?
Refer to the official SolidWorks API Help Guide or visit the SolidWorks API Forums.
✅ Can I run this on SolidWorks Student Edition?
Yes, as long as macro functionality is enabled. Some institutions may restrict macro use for security.
✅ Can this macro be converted into a toolbar button?
Absolutely. You can embed this VBA macro into a button or convert it into a more advanced Add-In using VSTA or .NET.
🌐 Internal Reference
🌐 External References
1. 🔧 SolidWorks API Documentation
URL: https://help.solidworks.com/2024/english/api/sldworksapiprogguide/Welcome.htm
Why use it? Official documentation for all SolidWorks automation functions and constants used in macros.
2. 💬 SolidWorks API Forum (Community Help)
Why use it? A great place for troubleshooting, sharing macros, and learning new techniques directly from the SW developer community.
3. 🎓 MySolidWorks – Tutorials & Training
Why use it? Contains beginner to advanced tutorials, including macro-related guides and how-to videos.
5. 🔐 Microsoft VBA Reference for Office Automation
URL: https://learn.microsoft.com/en-us/office/vba/api/overview/excel
Why use it? Helps understand general VBA structure, error handling, and syntax used in SolidWorks macros too.